...I haven't disappeared!
I know I haven't posted in awhile, but don't panic (as if you couldn't live without my baking for a couple weeks). I was knocked out by two separate bouts with nasty germs, but I'm almost all better now. Stay tuned later this week for a super delicious not to mention ridiculously easy and unbelievably fast recipe for Chocolate Chip Shortbread. Yummy!!
Monday 27 August 2012
Wednesday 15 August 2012
The Williams-Sonoma Baking Book: Strawberries and Cream Cake
Job Applications: 46
Interviews: 0
Recipes:3
It's been awhile since I made a cake, so I decided to try out the Strawberries and Cream Cake recipe from The Williams-Sonoma Baking Book. The cake only uses five ingredients - sugar, flour, melted butter, vanilla and eggs (separated). How easy!
The first step of any cake is to grease and line your cake pan. A quick trick to make a circle of parchment perfect for your pan is to fold a piece of parchment paper in half twice. Put the fold in the centre of your pan and trim the excess away from the edge. Tada! A perfect parchment circle!


Now, back to the ingredients. First, mix the egg yolks, vanilla and butter in a small bowl and set it aside for later.


Next, whip the egg whites until foamy.


Then add sugar while still whipping.


The egg whites are done when they're stiff.

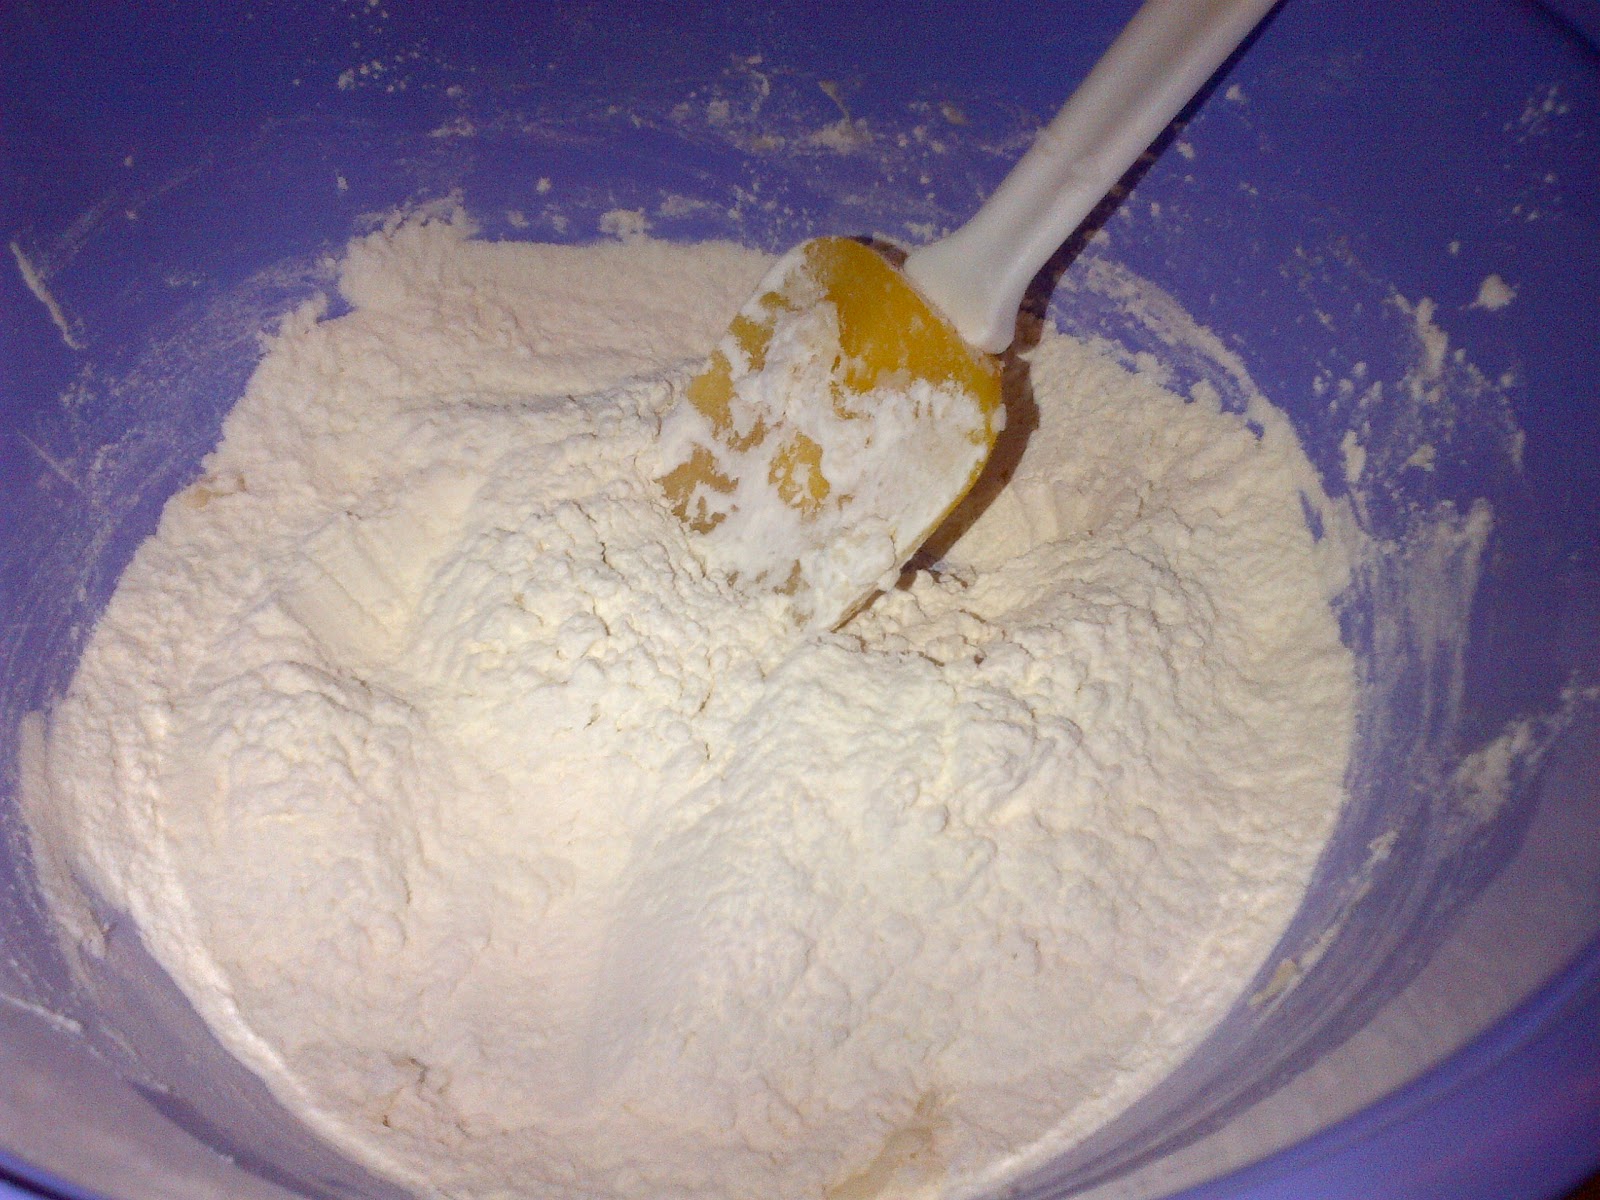
Once the egg whites are whipped, add the butter mixture and half the flour. Fold it together.


Then fold in the remaining flour.

The recipe suggests baking all the batter in one pan then cutting it into three layers. Instead, I baked it in three pans (I really don't trust myself to cut three equal and level layers!)

The next part of the cake is the whipped cream. The recipe in the book calls for whipping cream, confectioners sugar and vanilla. I also added a bit of meringue powder to help stabilize it.


The last task before assembling the cake is to slice some strawberries.

To assemble, place one layer of cake on a cake plate and cover with some whipped cream. Top that with strawberries.


Repeat with the next layer of cake. Top with the final cake layer then cover with the remaining whipped cream.


Decorate with six to eight whole strawberries (the recipe calls for eight, but the strawberries I had were huge).

This recipe was very easy to put together and hardly took any time at all. The resulting cake was simple but elegant, tender, moist, satisfying to the sweet tooth without being too sugary, and deliciously summery. What an impressive dessert to bring out at the end of a meal or take along to a friend's house when you're asked to bring a little treat.
I will definitely make this cake again!
Monday 13 August 2012
The Williams-Sonoma Baking Book: Pistachio-Spice Cookies
Job Applications: 38
Interviews: 0
Recipes: 2

I didn't realize until today how much of my free time I filled with the Olympic for the last two weeks. Now that they're over, what's an unemployed girl to do? Bake of course! Today's recipe was for Pistachio-Spice Cookies from the Williams-Sonoma Baking Book. They were pretty easy to make, but I wasn't entirely satisfied with the results. These cookies are basically butter, sugar, eggs, flour, flavour and pistachios. Easy.
First, butter and brown sugar are creamed together.

Then, molasses, flavouring and egg yolks are added. Finally, the dry ingredients are mixed
in

and of course chopped pistachios.

The dough is then formed into two rectangular logs then left to chill out in the refrigerator for at least two hours.

Once they've chilled, they're sliced then baked.

This one is probably not a recipe I'd make again.
UPDATE: I did try these again. This time I left the dough in the refrigerator for almost 48 hours before baking. I also left out the almond extract. The flavours blended together nicely and it was a really tasty cookie. The spices made it feel like comfort food while the texture allowed it to still be a light treat. Perfect as an afternoon snack with a cup of tea or coffee.
Friday 10 August 2012
Paula Deen's Double Fudge Bread Pudding

First, I cut up some bread and put it in an oven-safe dish.

Then, I mixed sugar, brown sugar, cocoa and cinnamon in a large bowl.

Then I added eggs and vanilla.

Finally, melt some chopped chocolate in boiling milk and cream and whisk this into the egg and sugar mixture before pouring the whole thing over your bread pieces.


The hardest part of the whole recipe was being patient enough to wait an hour for the bread pudding to chill before baking.
I served the bread pudding warm with a dollop of freshly whipped cream (the recipe calls for a chocolate version, but I stuck with the more traditional whipped cream to help balance the chocolate in the bread pudding).
Wednesday 8 August 2012
Baking for...Pets: Peanut Butter and Banana Pupsicles
Hot summer weather and frozen treats go together better than peanut butter and chocolate. My personal favourite for hot days is a tall glass of frozen lemonade (with or without a little limoncello). While I was enjoying my tasty drink Doggy was watching (like he always does when anything resembling food is involved), so I just had to make my furry friend a refreshing treat, too. He loves peanut butter and I have never been able to eat a banana without him begging at least half of it for himself, so I chose Peanut Butter and Banana Pupsicles. They're super easy and best of all, my version doesn't have any dairy in it like so many of the recipes you can find online (dairy does terrible things to Doggy's sensitive stomach that basically makes it impossible to live with him).
Peanut Butter and Banana Pupsicles
1 ripe banana
1 c peanut butter
2 T hot water
6 bone shaped dog treats
Mash the banana with a fork until very smooth.

Add the peanut butter and combine well. You can add up to two tablespoons of hot water if you need to loosen the mixture up.

Spoon the mixture into baking cups. I used silicone, but the paper ones will work just as well.
 Smooth the top, pressing down slightly to pack the mixture in tightly. Add a bone shaped dog treat to the centre of each, pushing the pupsicle mixture around each one.

Freeze. Remove from the baking cups right before serving.


Peanut Butter and Banana Pupsicles
1 ripe banana
1 c peanut butter
2 T hot water
6 bone shaped dog treats
Mash the banana with a fork until very smooth.


Spoon the mixture into baking cups. I used silicone, but the paper ones will work just as well.


Freeze. Remove from the baking cups right before serving.


Mmm, that hits the spot!
Sunday 5 August 2012
The Williams-Sonoma Baking Book: Beer Batter Bread
Job Applications: 31
Interviews: 0
Recipes: 1
Today is International Beer Day! In honour of such a special occasion, I decided that the first recipe from The Williams-Sonoma Baking Book I'm going to try is Beer Batter Bread! It was a really easy recipe to make. For copyright reasons, the recipe will not be published here, but here's the basic idea:
Mix dry ingredients, including flour, salt, sugar and baking powder.

Pour in some beer.

Stir it all together, drop it in a loaf pan and pour some melted butter over the top (I like salted butter for this, as it adds just a little extra mmm to the bread), then bake it.
Pour in some beer.

Stir it all together, drop it in a loaf pan and pour some melted butter over the top (I like salted butter for this, as it adds just a little extra mmm to the bread), then bake it.

I made two loaves to take to a family dinner and decided to add some finely chopped garlic and fresh parsley to one (with the sugar omitted). The garlic was baked right in and had a subtle flavour, while the parsley was sprinkled on top just after the bread came out of the over, adding a little pop of freshness. The bread itself was soft and had a nice crumb. The butter pored over the top really added depth to the flavour of the loaf. This recipe is a winner.

The best part of the whole thing: delicious bread with no need to wait for yeast to rise!
Saturday 4 August 2012
Baking for...International Beer Day: Vanilla Beer Cake with Beer Caramel Sauce
Sunday is International Beer Day. When you love beer like I do, you just can't pass up the opportunity to make something special to mark the occasion. Awhile ago a friend gave me a vanilla cake mix in a jar.

I decided to finally crack it open and use it as the base for my Vanilla Beer Cake with Beer Caramel Sauce. The cake was really easy to make - just dump the dry ingredients from the jar into a bowl and stir in some eggs, oil, water and vanilla then bake.

Since the star of this recipe has to be beer, I substituted beer for some of the water. There are lots of really great craft beers out there that have hints of vanilla, which would go really nicely with the cake. Of course, I didn't have any, and today being one of the hottest days of the summer, I decided to use what I have, which happened to be Moosehead. One of my favourite beers to drink and pretty good in the beer bread I plan to bake tomorrow morning.
To give the cake a little something extra I decided to make some caramel sauce to serve with it. With beer of course. Now, here's the thing about caramel. I burn it. Always. This time was no exception (although at least it's still slightly edible, which doesn't often happen). But, for those of you who have better luck with things made on the stove top rather than in the oven, here's the recipe.
(Note: The ratio for caramel is 2 parts sugar to 1 part cream to 1 part butter, plus flavourings like the beer if desired. To make a wet caramel, just add 1 part water to the caramel. Knowing this, you can play with this caramel recipe to get a flavour that makes you happy. Just be sure not to add too much of the beer or your sauce won't set well.)
In a pot over medium-high heat, mix water and sugar. While this begins to heat up, measure out your other ingredients and set aside.
When the sugar and water mixture turns a nice shade of amber, add all of the other ingredients all at once.
(Note: The ratio for caramel is 2 parts sugar to 1 part cream to 1 part butter, plus flavourings like the beer if desired. To make a wet caramel, just add 1 part water to the caramel. Knowing this, you can play with this caramel recipe to get a flavour that makes you happy. Just be sure not to add too much of the beer or your sauce won't set well.)
Beer Caramel Sauce
1/3 c water
2/3 c granulated sugar
1/3 T heavy cream
3 T beer
1 t vanilla
1/3 c butter
In a pot over medium-high heat, mix water and sugar. While this begins to heat up, measure out your other ingredients and set aside.
When the sugar and water mixture turns a nice shade of amber, add all of the other ingredients all at once.

Stir to combine then leave the mixture over the heat for a couple minutes until the colour and bubbling appear uniform.

Remove from heat and let cool slightly. Store in a jar until you're ready to serve your cake.


Happy International Beer Day!
Subscribe to:
Posts (Atom)